
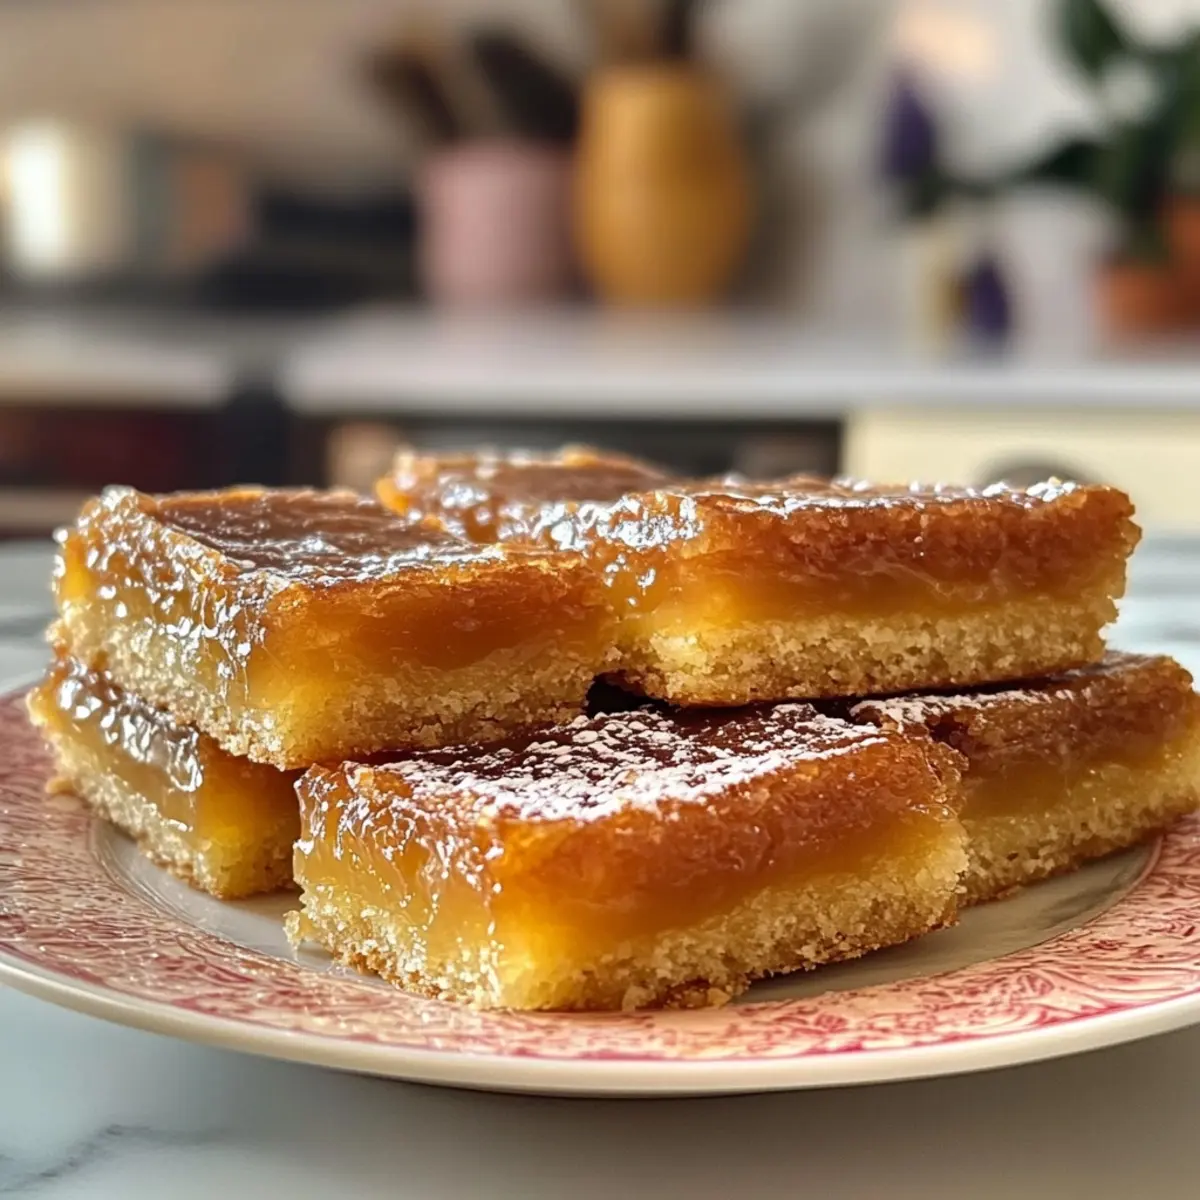
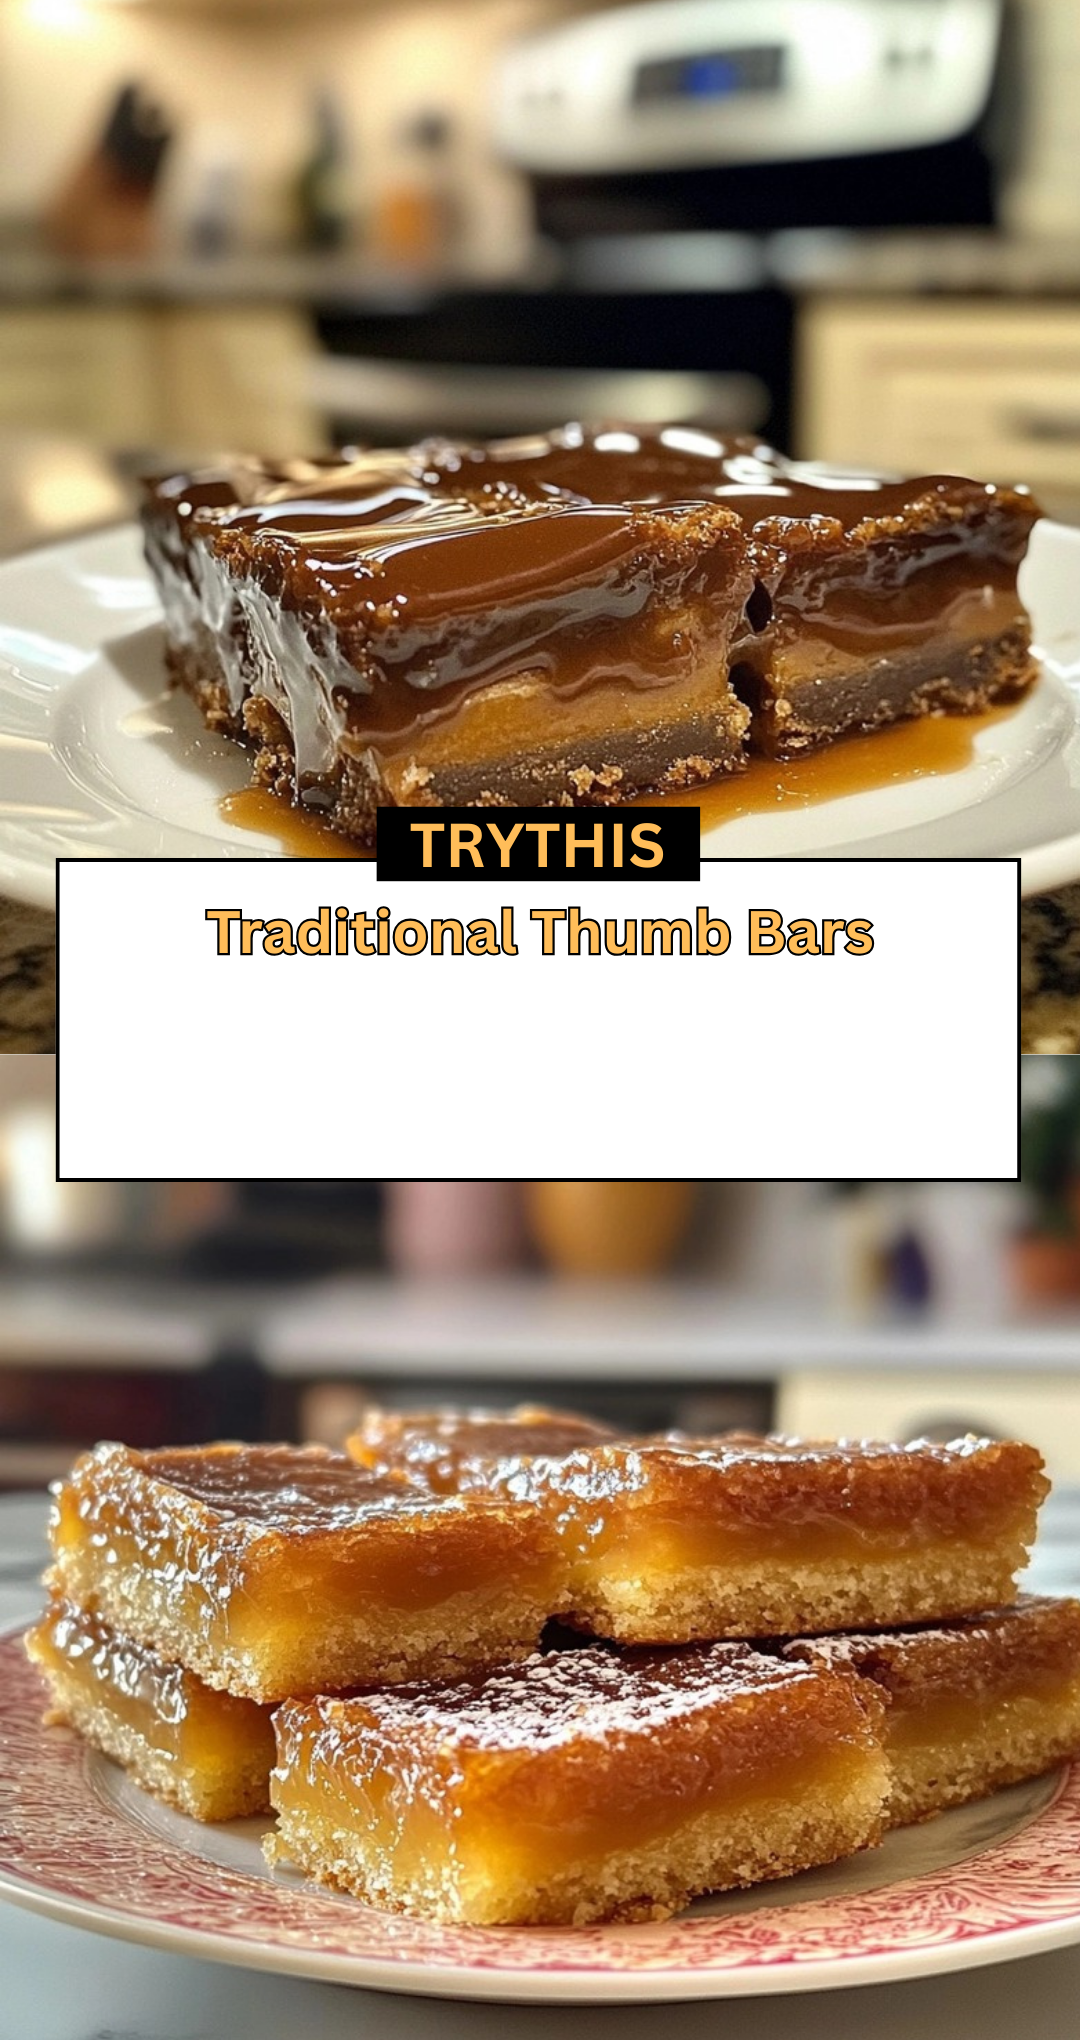
There’s something incredibly comforting about the sweet aroma of baking butter and vanilla wafting through my kitchen, instantly transporting me back to family gatherings and bake sales. That’s how I discovered the delightful world of Traditional Thumb Bars—these jam-filled treats are not just a dessert; they’re a slice of nostalgia on a plate. Perfectly buttery and boasting a crumbly topping, they elevate any occasion, whether you’re celebrating the holidays or just yearning for a homemade indulgence after a long week. What I love most is their versatility; you can swap out the fruit preserves to match your mood, making each batch a unique creation. So, grab your apron and join me in whipping up these crowd-pleasers that are sure to bring smiles to the faces of everyone around your table!
Why love Traditional Thumb Bars?
Comforting nostalgia: These Traditional Thumb Bars are reminiscent of your childhood, delivering that warm, homey feeling with every bite.
Versatile flavor: With options for various fruit jams, you can create endless combinations that cater to everyone’s taste.
Easily customizable: Gluten-free substitutions mean everyone can enjoy this delightful treat during gatherings.
Perfect for sharing: Great for bake sales or holiday platters, they’re sure to impress your friends and family!
Time-efficient: Quick to prep and bake, you’ll have these scrumptious bars ready in no time—ideal for busy schedules.
Dive into the magic of baking and explore more delightful treats with this baking guide.
Traditional Thumb Bars Ingredients
For the Base
• Unsalted Butter – Provides a creamy texture and rich flavor; use high-quality butter for best results.
• Granulated Sugar – Adds sweetness while keeping the center soft, creating a light, crisp edge.
• Vanilla Extract – Enhances the buttery flavor; consider using pure vanilla for a stronger taste.
• Almond Extract (optional) – Adds a classic flavor note; omit for a simpler taste.
• Large Egg – Adds richness and structure, preventing the bars from becoming too cake-like.
• All-Purpose Flour – Forms the base for the bars, creating that classic shortbread texture.
• Salt – Balances sweetness and enhances the overall flavor profile.
For the Filling
• Thick Fruit Preserves or Jam (¾ to 1 cup) – Provides the jammy sweet filling; recommended flavors include raspberry, apricot, or strawberry—thicker jams work best to prevent spreading.
Get ready to create your own Traditional Thumb Bars!
How to Make Traditional Thumb Bars
- Preheat Oven: Set your oven to 350°F (175°C) and line an 8×8 inch baking pan with parchment paper to ensure easy removal later.
- Cream Butter and Sugar: In a large bowl, beat the softened butter with granulated sugar until the mixture is light and fluffy, approximately 2-3 minutes.
- Add Flavorings: Mix in the vanilla extract, almond extract (if using), and the egg until everything is well combined, creating a rich base for your bars.
- Combine Dry Ingredients: Gradually incorporate the all-purpose flour and salt into the mixture. Stir until a soft dough forms—be careful not to overmix!
- Prepare Pan: Press about ⅔ of the dough into the bottom of your prepared pan, ensuring it’s evenly distributed to create a solid base.
- Add Jam Layer: Spread your chosen fruit preserves evenly over the base, leaving a slight border at the edges to prevent spillage while baking.
- Top with Crumble: Crumble the remaining dough over the jam layer in small pieces, covering it lightly to create a delicious topping.
- Bake: Place your pan in the preheated oven and bake for 25-30 minutes, or until the top is lightly golden and inviting.
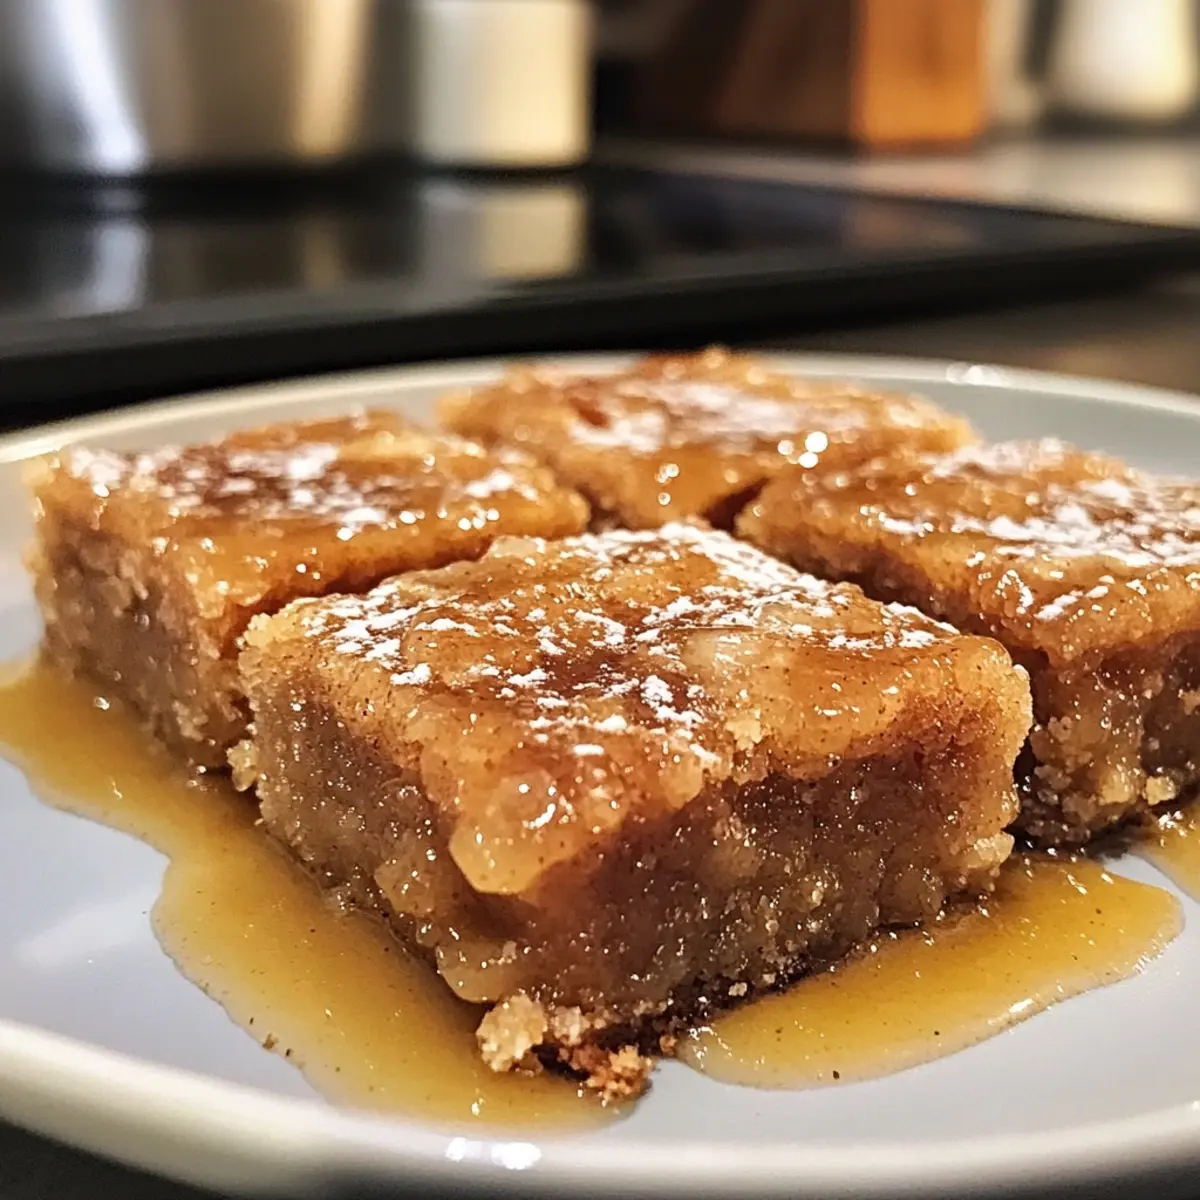
- Cool and Slice: Once baked, let the bars cool completely before carefully lifting them out of the pan using the parchment paper. Cut into squares for serving.
Optional: Dust with powdered sugar before serving for an elegant finish.
Exact quantities are listed in the recipe card below.
Make Ahead Options
These Traditional Thumb Bars are perfect for busy home cooks looking to save time during hectic days! You can prepare the dough and assemble the bars up to 24 hours ahead of baking. Simply mix the ingredients as instructed, press two-thirds into the pan, and layer the jam. Cover the assembled pan tightly with plastic wrap and refrigerate until ready to bake. This not only saves time but allows the flavors to meld beautifully. When you’re ready to serve, preheat your oven and bake straight from the fridge, adding a couple of extra minutes to the baking time if needed. You’ll have fresh, delightful bars just as delicious as if made the same day!
How to Store and Freeze Traditional Thumb Bars
Room Temperature: Keep the bars in an airtight container at room temperature for up to 7 days for the best texture and flavor.
Fridge: If you prefer, you can store them in the fridge for up to 10 days—just allow them to come to room temperature before serving for optimal taste.
Freezer: Wrap the cooled bars tightly in plastic wrap or place them in an airtight container, where they’ll stay fresh for up to 3 months. Thaw at room temperature when ready to enjoy.
Reheating: If desired, reheat individual bars in the microwave for about 10-15 seconds to bring back their soft, gooey goodness!
What to Serve with Traditional Thumb Bars?
Treat yourself to a delightful pairing that enhances the nostalgia of these buttery beauties.
- Fresh Whipped Cream: A dollop of lightly sweetened whipped cream adds a luscious, creamy texture that contrasts beautifully with the bars’ crumbly topping.
- Iced Coffee: The vibrant flavors of iced coffee awaken your senses while the sweetness of the bars brings balance to each sip.
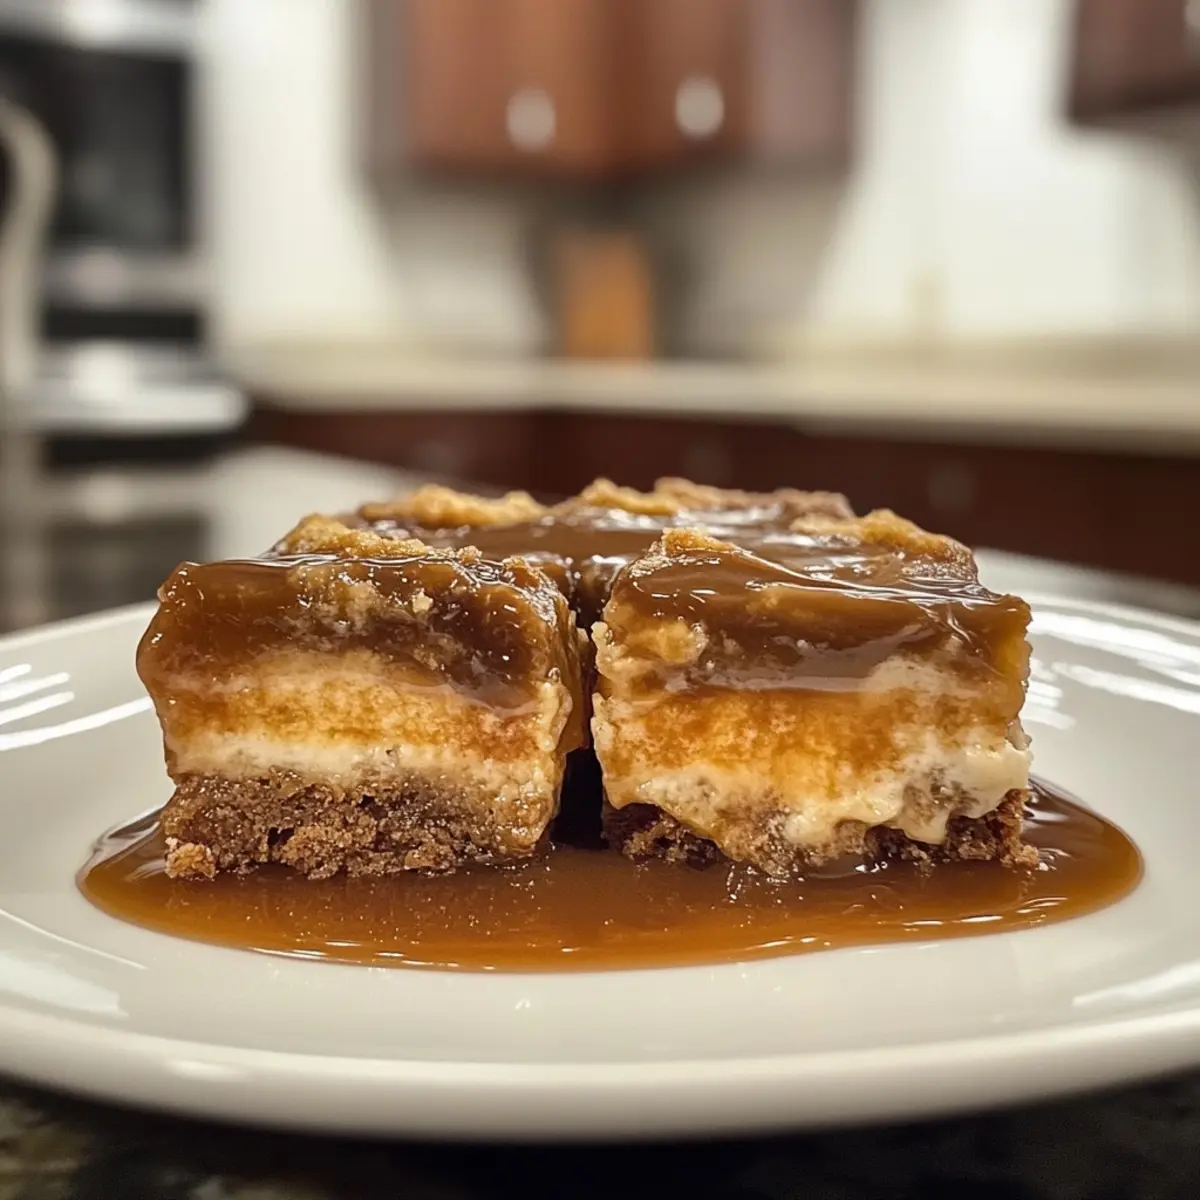
- Vanilla Ice Cream: Serve warm thumb bars with a scoop of vanilla ice cream for an indulgent dessert that melts in your mouth.
- Fruit Salad: A refreshing mix of seasonal fruits brightens the plate and offers a fresh counterpoint to the rich, sweet jam.
- Herbal Tea: Enjoy with a warm cup of herbal tea, like chamomile or peppermint, providing a soothing backdrop for your nostalgic treat.
- Sliced Almonds: Sprinkle toasted sliced almonds on top for a satisfying crunch and nutty flavor that elevates each bite.
- Chocolate Sauce: Drizzle chocolate sauce over your thumb bars for a decadent twist, creating a delightful blend of sweet and rich.
- Yogurt Parfait: Layer the bars with yogurt and granola for a beautiful breakfast or brunch item, combining flavors and textures effortlessly.
- Sparkling Lemonade: Complement the sweetness with a refreshing glass of sparkling lemonade; the citrusy zing harmonizes with the fruit preserves.
- Coconut Flakes: Adding unsweetened coconut flakes brings a tropical vibe and chewy texture that beautifully contrasts with the soft bars.
Variations & Substitutions for Traditional Thumb Bars
Customize your Traditional Thumb Bars with these delightful swaps and twists to create the perfect treat for any occasion!
- Raspberry Almond: Add a splash of almond extract and sprinkle sliced almonds on top for a nutty flavor booster.
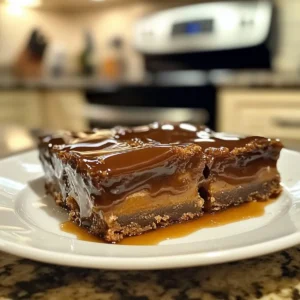
- Chocolate Hazelnut: Swap the jam for rich chocolate hazelnut spread for a decadent, chocolatey twist that’s absolutely indulgent.
- Apricot Coconut: Sprinkle shredded coconut over the top before baking, adding a tropical flair that complements the apricot perfectly.
- Lemon Curd: Replace the jam with lemon curd for a bright and tangy surprise that will awaken your taste buds.
- Spiced Holiday: Mix cinnamon and nutmeg into the dough for a warm, spiced flavor that screams holiday festivities.
- Peanut Butter Delight: Swap out the jam for a layer of peanut butter, and top with bits of chocolate for a sweet combination.
- Gluten-Free Variation: Use a gluten-free flour blend instead of all-purpose flour to ensure everyone can enjoy these delicious bars.
- Mixed Berry Medley: Combine two or more jams, such as raspberry and strawberry, for a fruity explosion that’s bursting with flavor.
Feel free to mix and match these ideas to find your favorite combinations, adding a touch of creativity to this classic treat!
Expert Tips for Traditional Thumb Bars
• Use High-Quality Butter: Opt for unsalted, high-quality butter for a richer flavor that enhances the buttery notes in your Traditional Thumb Bars.
• Choose Thick Jam: Select thicker fruit preserves to ensure the filling holds its shape during baking; avoid overly runny jams which can create a mess.
• Don’t Overmix Dough: Mix the base dough until just combined; overmixing can create a tougher texture instead of that melt-in-your-mouth softness.
• Deep Indentations: When pressing the dough into the pan, create deeper indentations to hold the jam properly. Shallow wells may cause the filling to sink.
• Try Different Flavors: Experiment with various jam flavors, like lemon curd or chocolate hazelnut spread, to keep your Traditional Thumb Bars exciting and fresh for every occasion.
• Cool Completely: Allow the bars to cool fully before slicing to achieve clean edges and showcase that beautiful jam layer.
Traditional Thumb Bars Recipe FAQs
How do I choose the right jam for my Traditional Thumb Bars?
Absolutely! When selecting a jam, opt for thicker fruit preserves like raspberry, apricot, or strawberry. These varieties hold their shape better during baking, preventing the filling from oozing out. If you’re feeling adventurous, try flavored jams or even homemade preserves for a unique twist!
What’s the best way to store my Traditional Thumb Bars?
To keep your bars fresh, place them in an airtight container stored at room temperature for up to 7 days. If you live in a particularly hot or humid environment, you might want to store them in the fridge for up to 10 days—just remember to let them come to room temperature before enjoying them for the best taste experience.
Can I freeze Traditional Thumb Bars for later?
Certainly! To freeze, wrap the cooled bars tightly in plastic wrap or store them in an airtight container. They will remain fresh for up to 3 months. When you’re ready to enjoy them, simply thaw at room temperature, around 1-2 hours. You can even pop them in the microwave for about 10-15 seconds for that fresh-out-of-the-oven warmth!
What should I do if my jam sinks during baking?
Not to worry, this can happen occasionally! To prevent it next time, be sure to create deeper indentations in the dough where you spread the jam. Using thicker jams also helps keep the filling in place and ensures your delicious layers stay intact during baking.
Can these Traditional Thumb Bars be made gluten-free?
Yes, they can! You can substitute all-purpose flour with a gluten-free flour blend, such as almond flour or a 1:1 gluten-free flour mix. Just ensure the blend you choose includes xanthan gum or another binder to maintain the desired texture.
Can I add nuts or other toppings to my Traditional Thumb Bars?
Very much so! Feel free to sprinkle some chopped nuts, like almonds or walnuts, over the jam layer before adding the crumble topping. This adds a delightful crunch and elevates the flavor profile. Enjoy experimenting with different combinations!
Deliciously Indulgent Traditional Thumb Bars for Every Occasion
Equipment
- 8x8 inch baking pan
- Mixing bowl
- Electric mixer
- Spatula
Ingredients
For the Base
- 1 cup Unsalted Butter softened, high-quality
- 3/4 cup Granulated Sugar
- 1 tbsp Vanilla Extract preferably pure
- 1/4 tsp Almond Extract optional
- 1 large Egg
- 2 cups All-Purpose Flour
- 1/4 tsp Salt
For the Filling
- 3/4 to 1 cup Thick Fruit Preserves or Jam recommended flavors: raspberry, apricot, or strawberry
Instructions
Preparation Steps
- Preheat your oven to 350°F (175°C) and line an 8x8 inch baking pan with parchment paper.
- In a large bowl, cream the softened butter with granulated sugar until light and fluffy, about 2-3 minutes.
- Mix in the vanilla extract, almond extract (if using), and the egg until well combined.
- Gradually incorporate the all-purpose flour and salt into the mixture. Stir until a soft dough forms.
- Press about ⅔ of the dough into the bottom of your prepared pan to create a solid base.
- Spread your chosen fruit preserves evenly over the base, leaving a slight border at the edges.
- Crumble the remaining dough over the jam layer in small pieces to create a topping.
- Bake in the preheated oven for 25-30 minutes, or until the top is lightly golden.
- Let the bars cool completely before lifting them out of the pan and cutting into squares.
Notes

Leave a Comment