
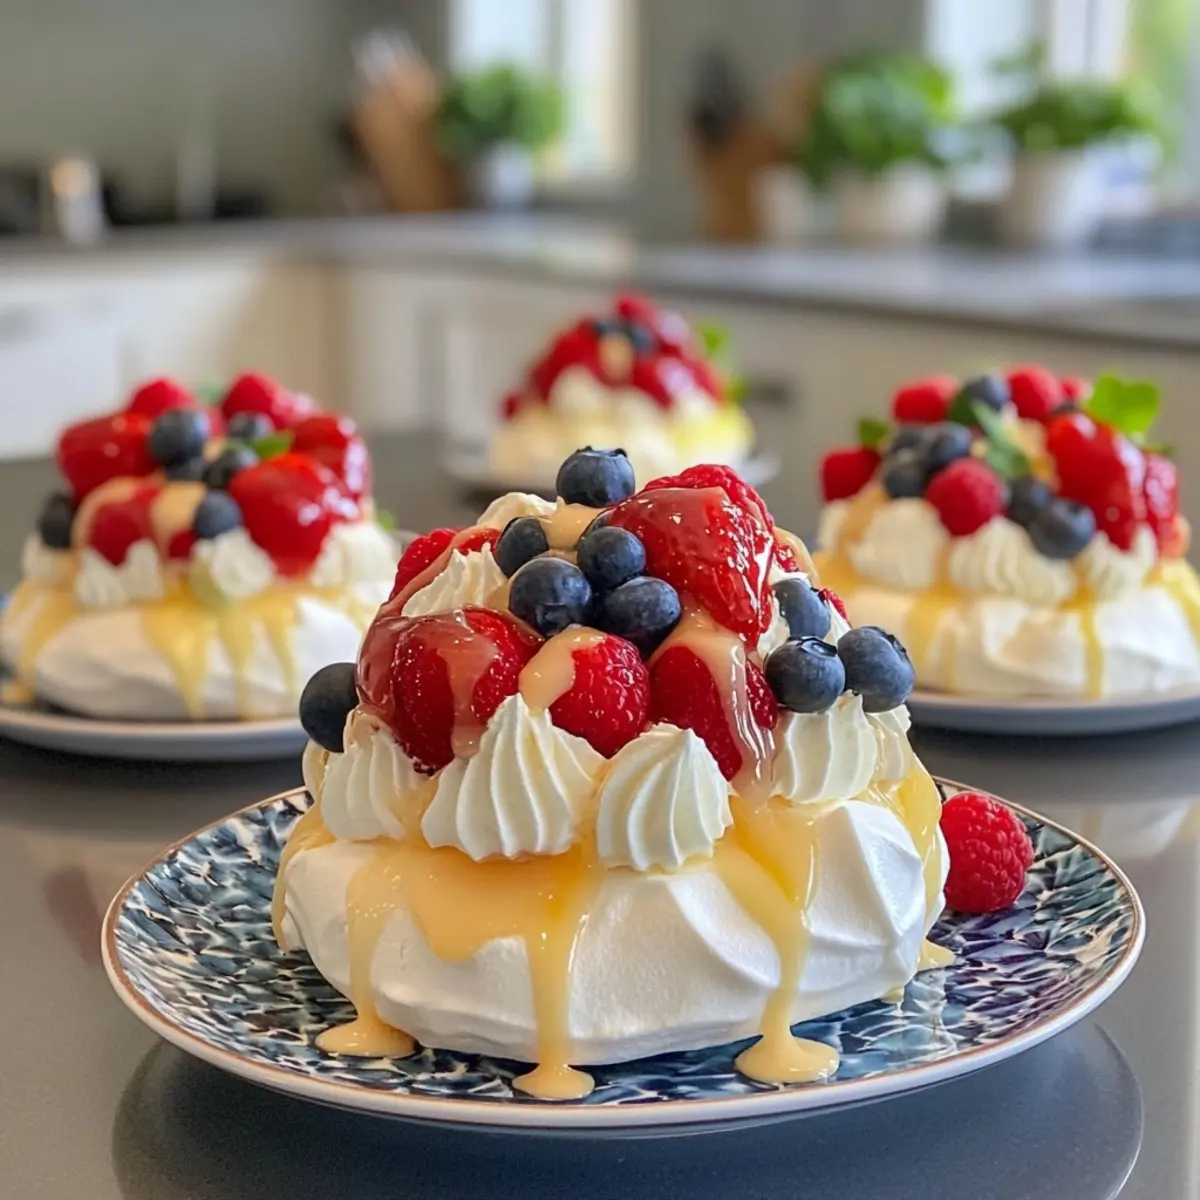
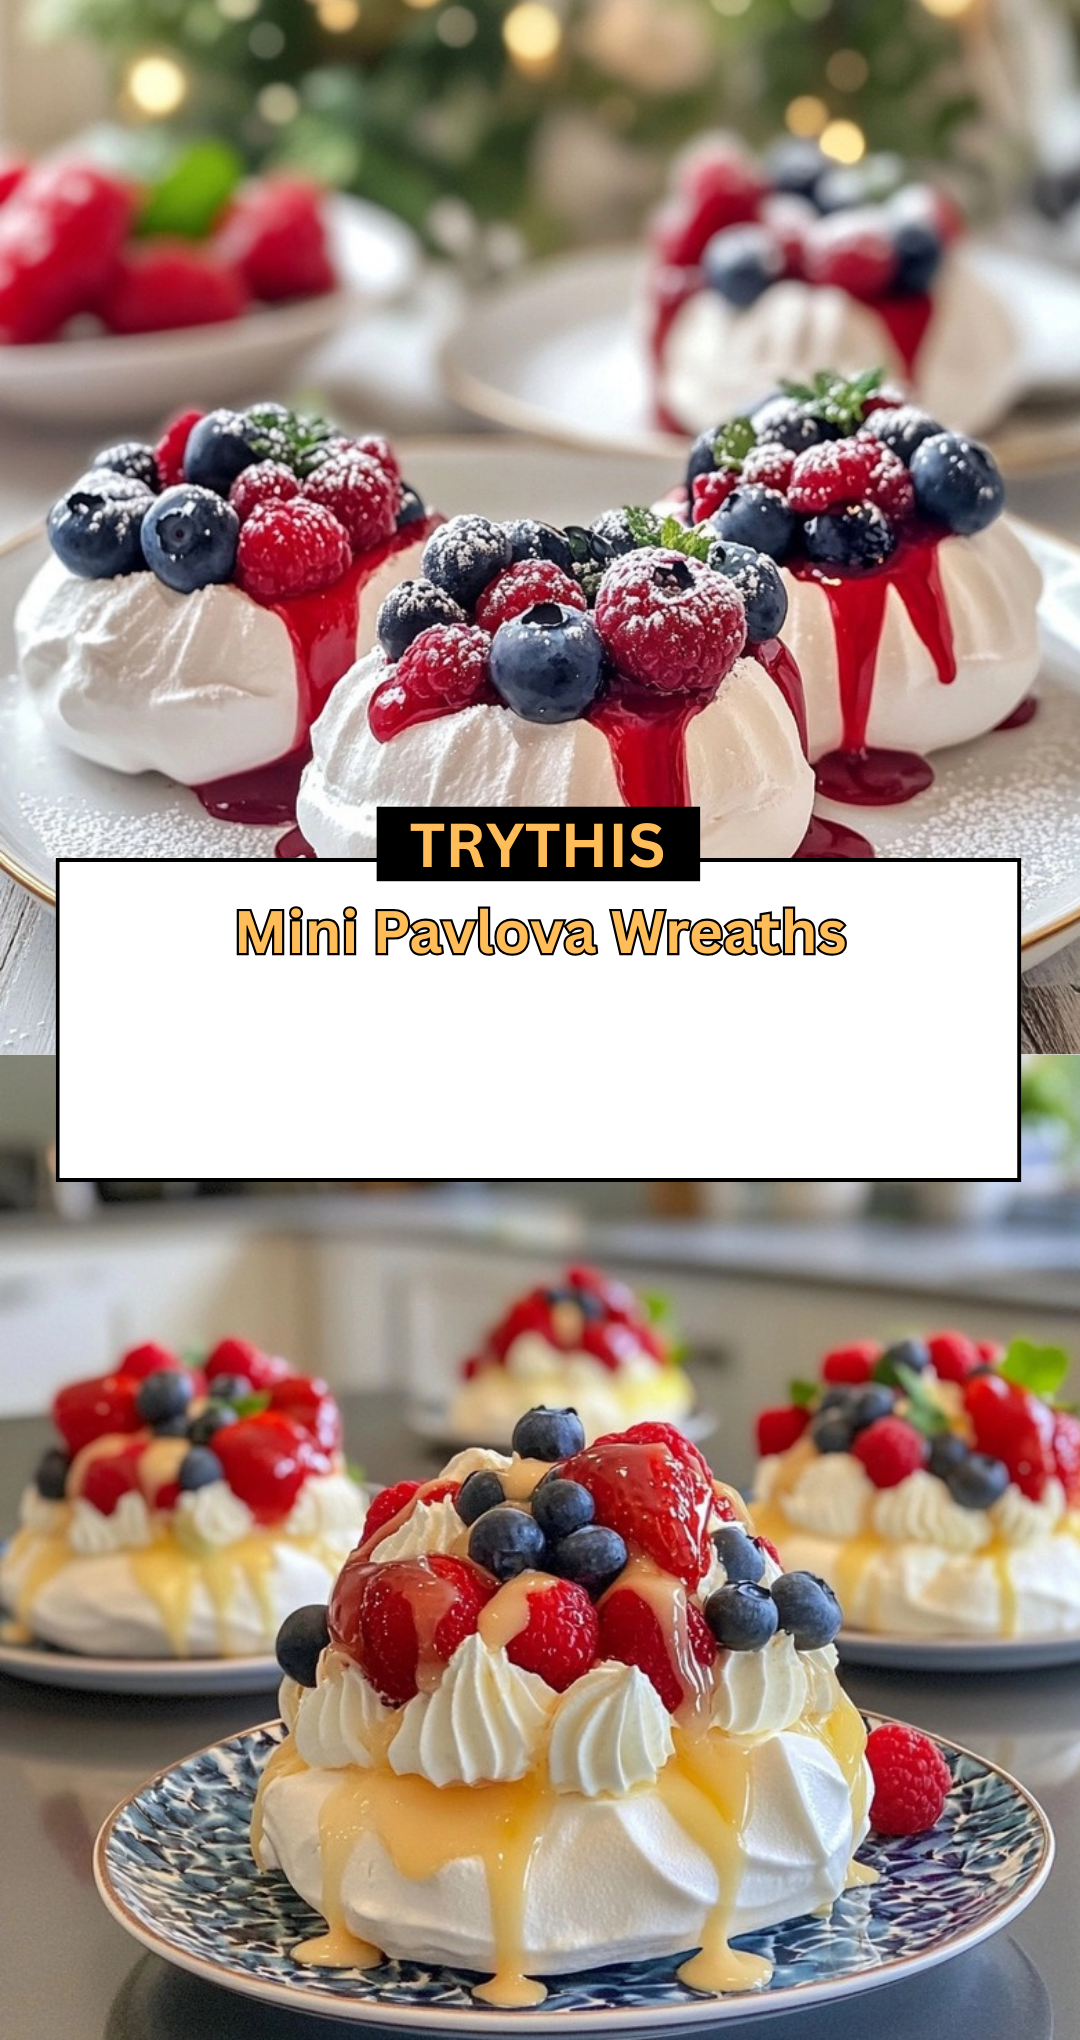
There’s a certain charm that comes alive in the kitchen during holiday gatherings, and this Easy Festive Pull Apart Pavlova Wreath is sure to steal the show! Picture this: the first bite reveals a perfect balance of crisp meringue and a marshmallow-soft center, all elegantly adorned with vibrant, fresh fruits. While whisking up the delicate egg whites and watching them transform into fluffy clouds, I’m reminded of the joy that comes from creating something truly memorable, especially when shared with loved ones.
This enchanting wreath not only serves as a stunning centerpiece but also invites interaction and laughter as guests pull apart each piece. And the best part? It’s gluten-free and incredibly light, making it a guilt-free indulgence that everyone, even those watching their diet, can enjoy. So, let’s dive into this delightful recipe and elevate your festive celebrations with a dessert that’s as beautiful as it is delicious!
Why are Mini Pavlova Wreaths a must-try?
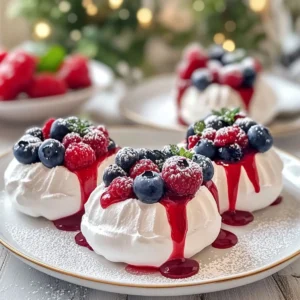
Unique presentation: The mini pavlova wreaths are not only visually stunning but also allow for easy sharing at gatherings, enhancing the festive spirit. Feel-good treat: They’re gluten-free and light, making them a guilt-free option that everyone will adore. Fluffy texture: Experience the delightful balance of crisp exteriors and soft, marshmallow-like interiors in each bite. Fruit-topped splendor: The vibrant mix of fresh fruits adds both flavor and a splash of color, creating a show-stopping centerpiece. Time-flexible: Prepare them in advance and assemble just before serving, letting you enjoy more time with your guests.
Mini Pavlova Wreaths Ingredients
• Celebrate with delightful Mini Pavlova Wreaths!
For the Meringue Base
- Egg Whites (6 extra-large) – Essential for a light and airy structure; make sure no yolk sneaks in!
- Icing Sugar (2 cups, sifted) – Imparts sweetness and a glossy finish; you can swap with powdered sugar if necessary.
- Cornstarch (2 tbsp) – Stabilizes the meringue for that perfect crisp; no direct substitute, but arrowroot might work in a pinch.
- Vanilla Extract (1 tsp) – Enriches the flavor of meringue; almond extract offers a lovely alternative twist.
For the Whipped Cream
- Heavy Cream (3 cups) – Provides a rich and indulgent filling; whipping cream can be used as a substitute.
- Icing Sugar (1 cup, sifted) – Sweetens the cream delightfully; feel free to replace with powdered sugar if needed.
For the Topping
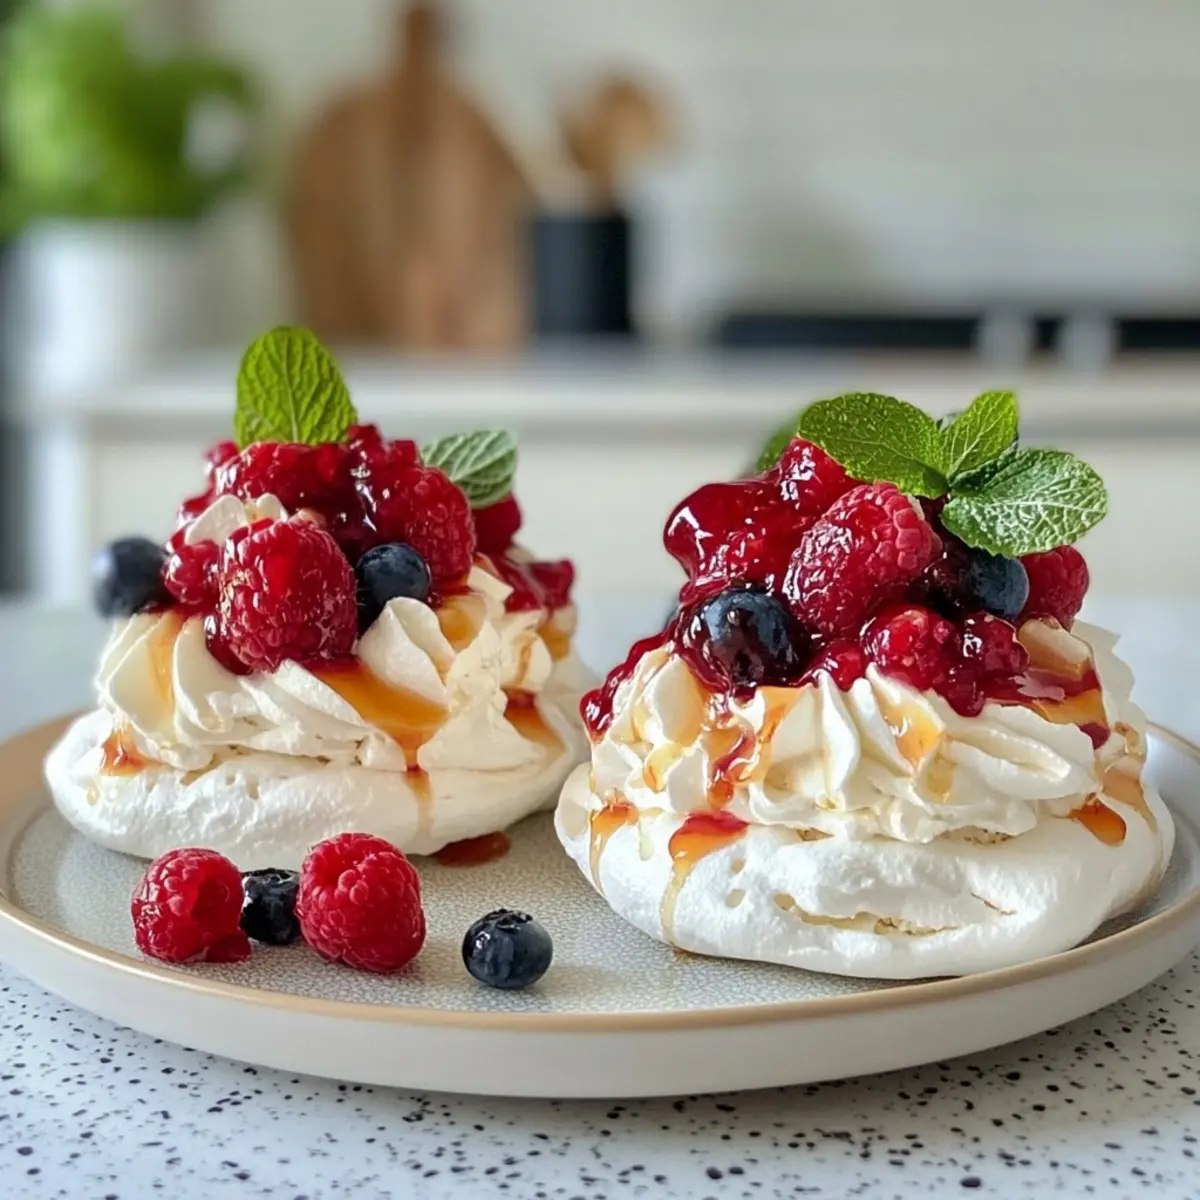
- Mixed Fresh Fruit (Assorted) – Adds a delicious contrast and vibrant color; favorites include strawberries, blueberries, raspberries, and blackberries.
- Fresh Mint Sprigs – A beautiful garnish for flavor and freshness; if you prefer, edible flowers can also add charm instead.
Enjoy crafting these delectable Mini Pavlova Wreaths, a guilt-free, gluten-free treat that’s a joy to share!
How to Make Mini Pavlova Wreaths
- Preheat the Oven: Begin by preheating your oven to 275°F (135°C). Line a baking sheet with parchment paper and lightly mark a 9-10 inch circle to guide the meringue shape.
- Whip the Egg Whites: In a clean bowl, whip the egg whites until soft peaks form. Gradually add the icing sugar, continuing to beat until you achieve stiff, glossy peaks—this should take about 4-5 minutes.
- Fold in Dry Ingredients: Gently fold in the cornstarch and vanilla extract until just combined. This step is key to maintaining that light and airy texture!
- Shape the Meringue Wreath: Spoon or pipe the meringue onto the prepared baking sheet, creating a ring shape that resembles a wreath. Bake for 1 hour and 15 minutes until it’s crisp and lightly tinted.
- Cool the Meringue: Once baked, turn off the oven, keeping the door slightly ajar, and allow the meringue to cool completely inside. This prevents cracking and adds rustic charm.
- Prepare the Whipped Cream: While your meringue cools, whip the heavy cream with icing sugar until stiff peaks form. Avoid overwhipping, as you want it to stay creamy!
- Assemble the Wreath: Carefully transfer the cooled meringue to a serving platter. Spoon or pipe the whipped cream elegantly over the base.
- Decorate with Fruits: Top your wreath with an assortment of fresh fruits, arranging them colorfully for maximum appeal. Garnish with fresh mint sprigs for that final touch of elegance!
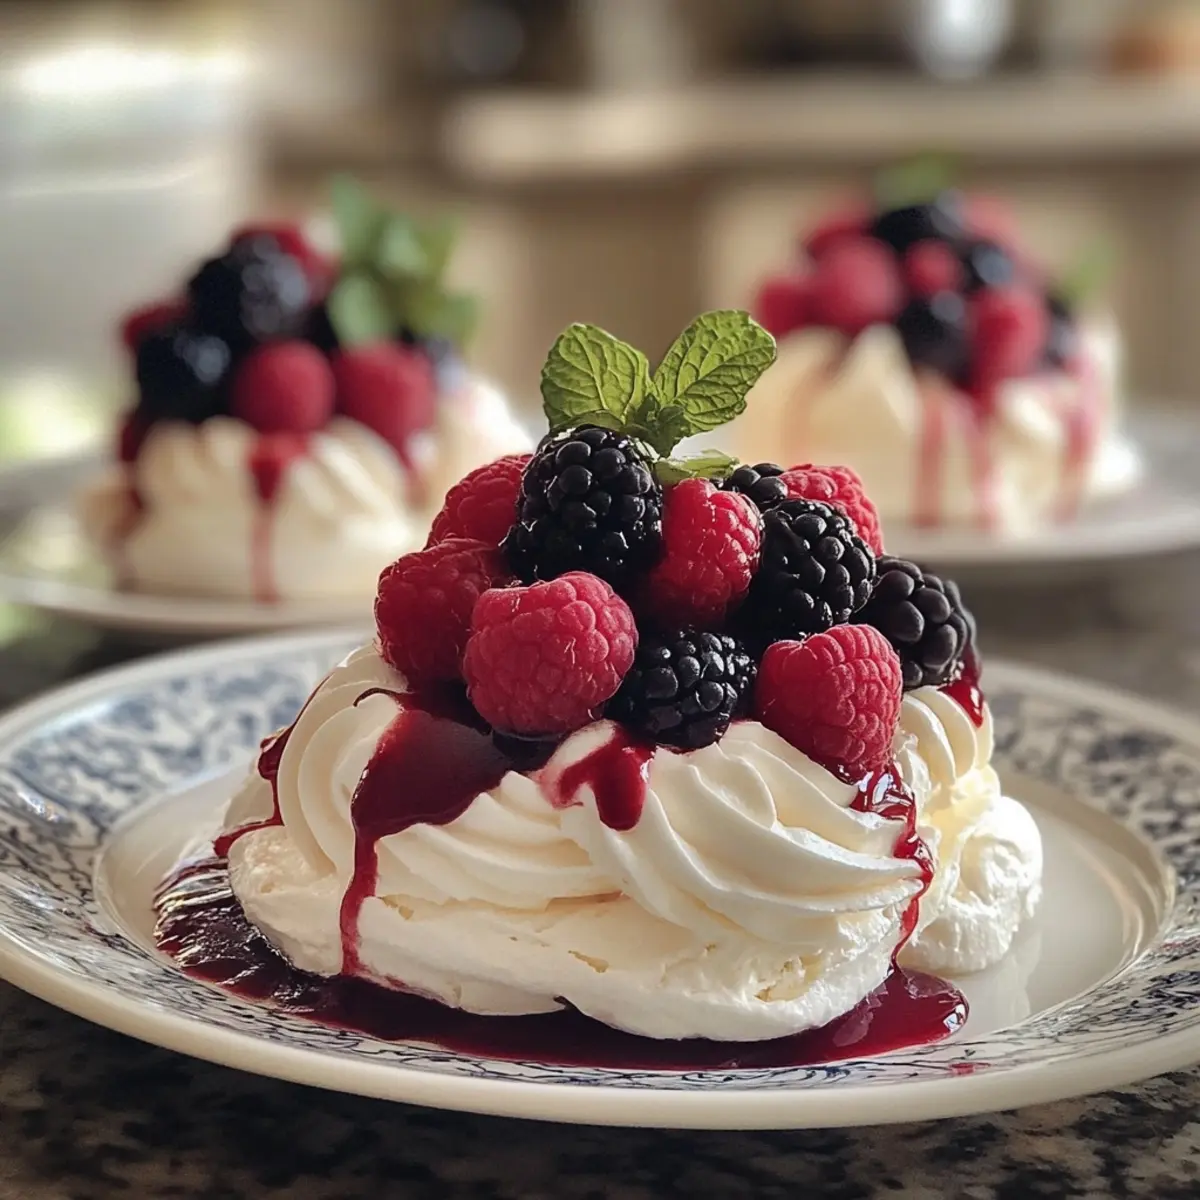
Optional: Drizzle with berry coulis for an extra burst of flavor!
Exact quantities are listed in the recipe card below.
What to Serve with Mini Pavlova Wreaths?
Creating a delightful meal isn’t just about the main dish; it’s about harmonizing flavors and textures throughout the dining experience.
- Citrus Salad: A refreshing mixture of citrus fruits enhances the sweet meringue and balances flavors effectively. The bright notes will enliven your palate between bites of the pavlova.
- Rich Chocolate Sauce: Drizzle warm chocolate sauce atop your pavlova for a decadent twist. The combination of light and airy meringue with luscious chocolate is truly irresistible!
- Fluffy Vanilla Cupcakes: Pair these mini wreaths with light vanilla cupcakes to offer a double dose of sweetness. Each bite transforms your dessert spread into a whimsical celebration of flavors.
- Iced Hibiscus Tea: A floral, iced hibiscus tea provides a contrast of tartness that enhances the sweetness of the pavlova. This drink adds a refreshing touch to your festive table.
- Mango Sorbet: The cool, fruity sorbet serves as a palate cleanser, preparing you for another exquisite bite of the pavlova. Its creamy texture complements the lightness of the meringue beautifully.
- Spiced Ginger Cookies: A crunchy and warm-spiced cookie creates delightful texture contrast and pairs well with the pavlova’s sweet and soft elements. Enjoy them together for a cozy, holiday feel.
Make Ahead Options
These Easy Festive Pull Apart Pavlova Wreaths are a dream for busy home cooks looking to save time during the hustle and bustle of festive gatherings! You can prepare the meringue up to 24 hours in advance; simply bake and cool it as directed, then store it in an airtight container at room temperature to keep it crisp. The whipped cream can also be made ahead and stored in the refrigerator for up to 3 days—just give it a light whisk before piping onto the meringue to restore its airy texture. When you’re ready to serve, garnish with fresh fruit and mint sprigs, ensuring a beautiful presentation that will impress your guests, all while allowing you to enjoy the celebration!
Expert Tips for Mini Pavlova Wreaths
- Clean Tools: Ensure all bowls and tools are clean and dry before whipping egg whites; any grease can inhibit proper whipping.
- Gradual Sugar Addition: Add icing sugar gradually while beating the egg whites to achieve a smooth, glossy meringue for your mini pavlova wreaths.
- Cooling Process: Allow the meringue to cool slowly in the oven with the door ajar to prevent cracks, which are common but add character to the dessert.
- Avoid Overwhipping Cream: When whipping the heavy cream, stop as soon as stiff peaks form. Overwhipping can lead to a grainy texture.
- Fruit Freshness: Use a mix of vibrant fresh fruits for topping; make sure they are ripe to enhance the flavor contrast in your wreath.
Storage Tips for Mini Pavlova Wreaths
- Room Temperature: Store leftover pavlova wreath at room temperature for up to 3 days, ideally in a cool, dry place away from humidity to maintain crispness.
- Fridge: If you’ve added whipped cream and fruit, it’s best to keep it in the fridge for up to 2 days. Cover loosely with plastic wrap to avoid sogginess.
- Freezer: For unassembled meringue, freeze it wrapped in plastic wrap and then in foil for up to 1 month. Thaw at room temperature when ready to use.
- Reheating: Mini Pavlova Wreaths are best enjoyed fresh. If they lose some crispness, you can briefly place them in a low oven (200°F or 90°C) to restore some texture, but serve immediately.
Mini Pavlova Wreaths Variations & Substitutions
Feel free to get creative with these delightful treats and make them your own!
- Seasonal Fruits: Opt for pears, citrus, or kiwi for a fresh twist that’s perfect for the holidays.
- Nut Topping: Add a sprinkle of toasted pistachios or almonds for a satisfying crunch and nutty flavor.
- Chocolate Drizzle: Just before serving, drizzle melted dark chocolate over the top for a rich contrast to the sweetness.
- Lemon Zest: Incorporate lemon zest into the meringue for a zesty kick that brightens each bite.
- Almond Extract: Swap the vanilla extract for almond extract to infuse a lovely nutty aroma into your meringue.
- Coconut Flakes: Toasted coconut flakes can be added as a topping for an exotic flavor and delightful texture.
- Berry Compote: Instead of fresh fruits, layer with a berry compote made of simmered berries for a tangy, luscious finish.
- Spiced Whipped Cream: Whip in a dash of cinnamon or nutmeg into the cream to add an inviting warmth to every bite.
Mini Pavlova Wreaths Recipe FAQs
What type of egg whites should I use for the pavlova?
Absolutely use extra-large, fresh egg whites for the best results! It’s crucial to ensure there is no yolk mixed in, as even a tiny amount can prevent your egg whites from whipping correctly. Freshness matters here as it significantly affects the volume and stability of the meringue.
How should I store leftover Mini Pavlova Wreaths?
If you’ve got leftovers, store your pavlova wreath at room temperature for up to 3 days. Just make sure it’s in a cool, dry place away from humidity to keep that delightful crisp texture intact. If your whipped cream and fruit have been added, it’s best to refrigerate it for up to 2 days, covering loosely with plastic wrap to prevent sogginess.
Can I freeze the meringue for later use?
Yes! You can freeze the unassembled meringue base for up to 1 month. Wrap it tightly in plastic wrap and then in foil to prevent freezer burn. When you’re ready to use it, simply thaw at room temperature. Just remember, it’s best enjoyed fresh, so assemble the wreath when you’re ready to serve!
What should I do if my meringue cracks during baking?
Don’t fret! Cracks are common and can add a lovely rustic charm to your pavlova. To avoid this, keep an eye on your oven temperature; even slight fluctuations can cause cracking. Letting the meringue cool slowly in the oven, as instructed, will also help prevent cracks.
Are there any dietary considerations for Mini Pavlova Wreaths?
Very! These delightful treats are inherently gluten-free, making them perfect for many dietary preferences. Just be cautious with the toppings if you’re serving guests with allergies—ensure the fruits are fresh and free from any additives that may cause reactions. Fruits like strawberries, blueberries, and mint are generally safe and delightful!
How can I ensure my whipped cream stays fluffy?
To keep your whipped cream perfectly fluffy, mix it until just stiff peaks form, which usually takes about 3-4 minutes. Overwhipping can make it grainy and less enjoyable. Adding sifted icing sugar gradually while whipping can also help maintain that light, airy texture. Enjoy crafting these Mini Pavlova Wreaths for festive gatherings!
Irresistibly Light Mini Pavlova Wreaths for Festive Sharing
Equipment
- Oven
- Mixing bowl
- baking sheet
- Parchment Paper
- whisk
- spoon or piping bag
Ingredients
For the Meringue Base
- 6 eggs Egg Whites (extra-large) Make sure no yolk sneaks in!
- 2 cups Icing Sugar Sifted, can swap with powdered sugar if necessary
- 2 tbsp Cornstarch Stabilizes the meringue; arrowroot might work in a pinch
- 1 tsp Vanilla Extract Almond extract is a good alternative
For the Whipped Cream
- 3 cups Heavy Cream Whipping cream can be used as a substitute
- 1 cup Icing Sugar Sifted; can replace with powdered sugar if needed
For the Topping
- assorted Mixed Fresh Fruit Strawberries, blueberries, raspberries, blackberries
- Fresh Mint Sprigs Edible flowers can be used as an alternative
Instructions
How to Make Mini Pavlova Wreaths
- Preheat your oven to 275°F (135°C). Line a baking sheet with parchment paper and mark a 9-10 inch circle.
- Whip the egg whites until soft peaks form. Gradually add icing sugar until stiff peaks form, about 4-5 minutes.
- Gently fold in cornstarch and vanilla extract until just combined.
- Spoon or pipe the meringue onto the prepared baking sheet, creating a wreath shape. Bake for 1 hour and 15 minutes.
- Turn off the oven and let the meringue cool completely with the door ajar.
- Whip the heavy cream with icing sugar until stiff peaks form.
- Transfer the cooled meringue to a serving platter and spoon or pipe whipped cream over it.
- Top with an assortment of fresh fruits and garnish with mint sprigs.
Notes

Leave a Comment